
Introduction
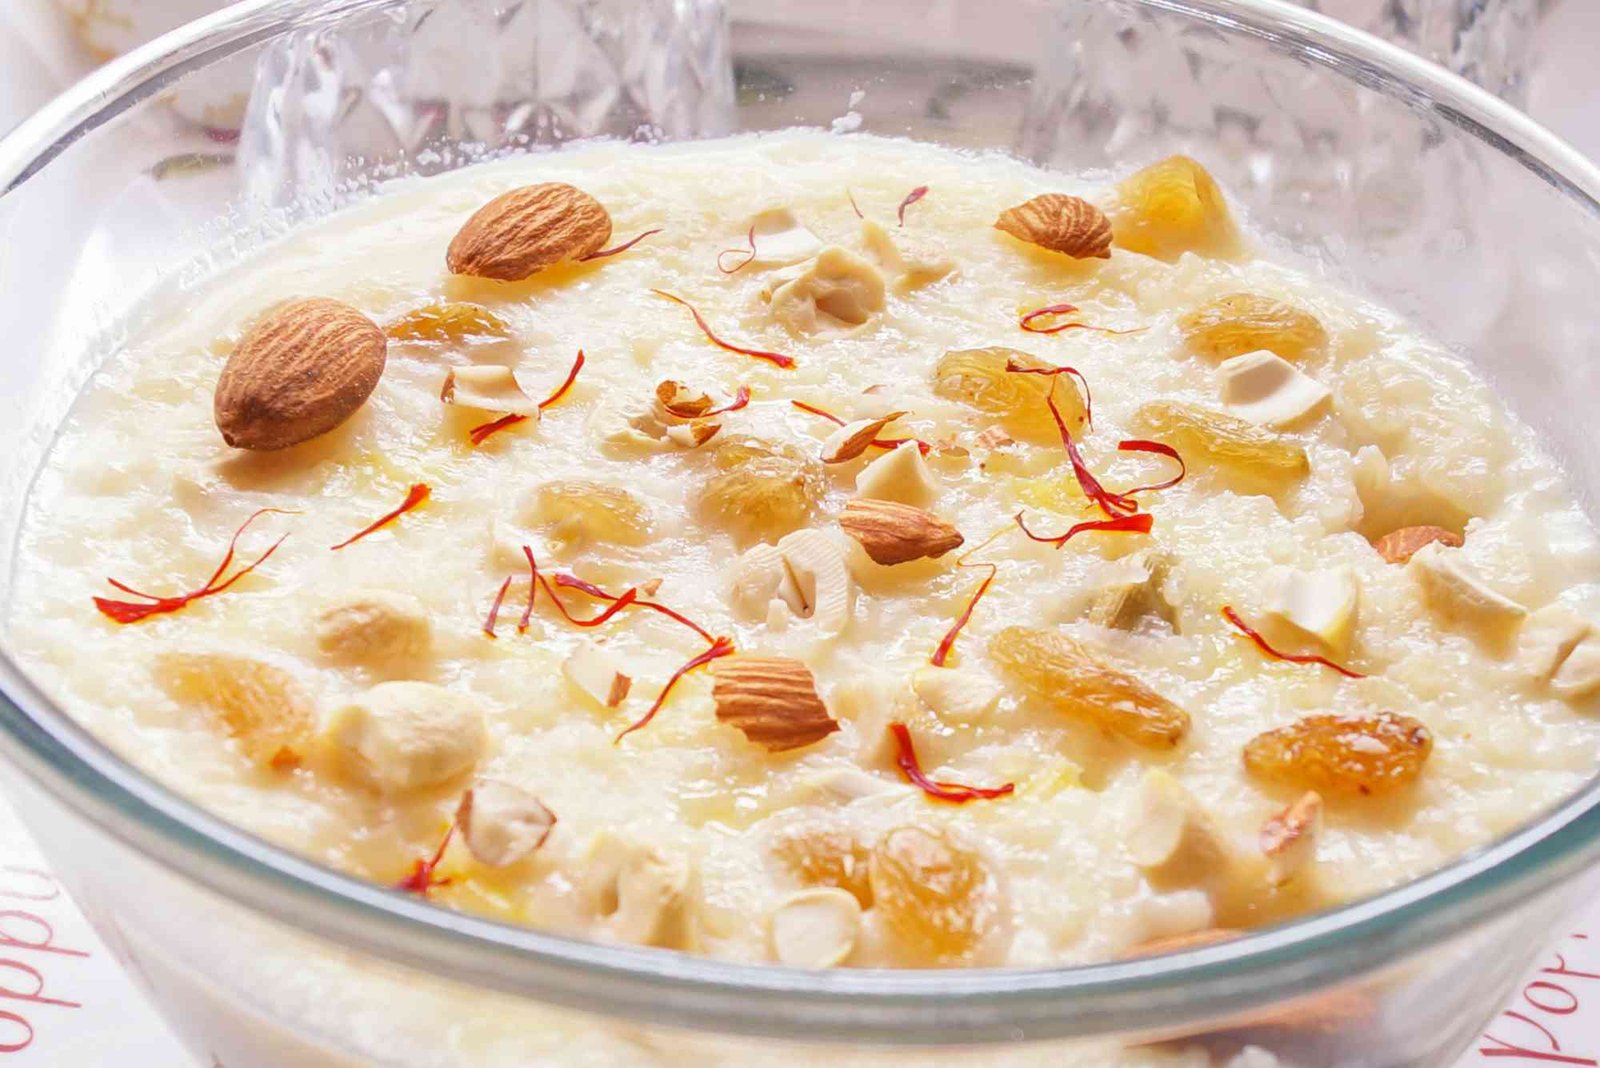
Rice ki Kheer is a traditional Indian dessert loved by many for its creamy texture and rich flavor. Made with simple ingredients like rice, milk, sugar, and cardamom, this dessert is a must-try for any occasion, from festivals to family dinners. If you’re looking to prepare a delicious bowl of Rice ki Kheer, follow this easy step-by-step recipe to create a mouthwatering treat your family and friends will enjoy.
In this detailed guide, we will walk you through the ingredients, preparation process, and even offer a few tips to make the perfect Kheer every time. Whether you are a beginner or a seasoned cook, this recipe is easy to follow and guarantees a delightful dessert experience.

Ingredients for Rice Ki Kheer:
- 1/4 cup Basmati rice (washed and drained)
- 4 cups full-fat milk
- 1/2 cup sugar (adjust as per taste)
- 1/4 tsp cardamom powder
- 1 tbsp chopped nuts (cashews, almonds, and pistachios)
- 1 tbsp raisins (optional)
- A pinch of saffron strands (optional)
- 1 tbsp ghee (clarified butter)
Instructions:
Rinse the Rice: Begin by washing the Basmati rice thoroughly under cold running water. Drain the rice to remove any excess water.
Heat the Milk: In a heavy-bottomed pan, add 4 cups of full-fat milk and bring it to a gentle boil over medium heat. Stir occasionally to prevent the milk from sticking to the bottom of the pan.
Add the Rice: Once the milk begins to boil, add the washed rice to the pan. Stir the mixture to ensure the rice doesn’t stick to the bottom.
Simmer the Mixture: Reduce the heat to low and let the rice cook in the milk for about 15-20 minutes, stirring occasionally. The rice will absorb the milk and start to soften. Keep simmering until the rice is cooked completely.
Add the Sugar and Cardamom: When the rice is soft and the milk has thickened, add 1/2 cup of sugar and 1/4 tsp of cardamom powder. Stir well to ensure the sugar dissolves completely.
Add the Nuts and Raisins: Now, add a tablespoon of chopped nuts and raisins. These will add texture and a delightful crunch to your Kheer. You can use a mix of cashews, almonds, and pistachios. Stir to combine.
Cook Until Desired Consistency: Continue cooking the Kheer on low heat for another 10-15 minutes. Keep stirring frequently to prevent the mixture from burning. The Kheer will thicken further as it cooks, and the rice will absorb more milk, resulting in a creamy texture.
Optional: Add Saffron: If you like, you can add a pinch of saffron strands to enhance the flavor and give the Kheer a beautiful golden color. To release the saffron’s color and aroma, soak the strands in a teaspoon of warm milk for 10 minutes before adding them to the Kheer.
Final Touch – Add Ghee: For an extra richness, add 1 tablespoon of ghee (clarified butter) to the Kheer and mix it well. This step is optional but highly recommended for an authentic flavor.
Serve and Enjoy: Once the Kheer reaches your desired consistency, remove it from the heat. You can serve Rice ki Kheer hot or chilled, depending on your preference. Garnish with extra nuts or saffron strands for a decorative touch.
Tips to Make Perfect Rice Ki Kheer:
- Consistency: The consistency of Kheer can be adjusted by either adding more milk if you prefer a thinner version or by cooking it longer to thicken the mixture.
- Use Full-Fat Milk: Full-fat milk gives the Kheer its rich and creamy texture. Avoid using low-fat milk for the best results.
- Soak Rice: Soaking the rice for 15-20 minutes before cooking helps it cook faster and evenly.
- Sweetness Level: Adjust the sugar according to your taste. You can add less sugar if you prefer a healthier version.
Related FAQs:
Can I use any type of rice for making Kheer?
It is best to use Basmati rice for making Kheer because of its aromatic fragrance and long grains. However, you can use any short-grain rice if Basmati is unavailable.
Can I make Rice Ki Kheer ahead of time?
Yes, Rice Ki Kheer can be made a day in advance and stored in the refrigerator. When ready to serve, you can reheat it on low heat, adding a bit of milk to bring it back to a creamy consistency.
Is Rice Ki Kheer gluten-free?
Yes, Rice Ki Kheer is naturally gluten-free, making it a great dessert option for those with gluten sensitivity.
Can I add any other fruits or flavors?
Yes, you can add fruits like mango, banana, or even a dash of rose water to give the Kheer a unique flavor. These additions add freshness and flavor to the traditional dessert.
How can I make Rice Ki Kheer vegan?
To make vegan Rice Ki Kheer, use plant-based milk such as almond or coconut milk, and replace ghee with coconut oil or vegetable oil.
Rice ki kheer Recipe is a beloved dessert that has stood the test of time and remains a favorite at many Indian festivals and celebrations. This step-by-step recipe ensures that even beginners can prepare this creamy delight with ease. With a few simple ingredients and some patience, you can enjoy a delicious bowl of Rice ki Kheer that is sure to impress your loved ones. Whether you prefer it hot or chilled, this dish never fails to bring joy to your table.