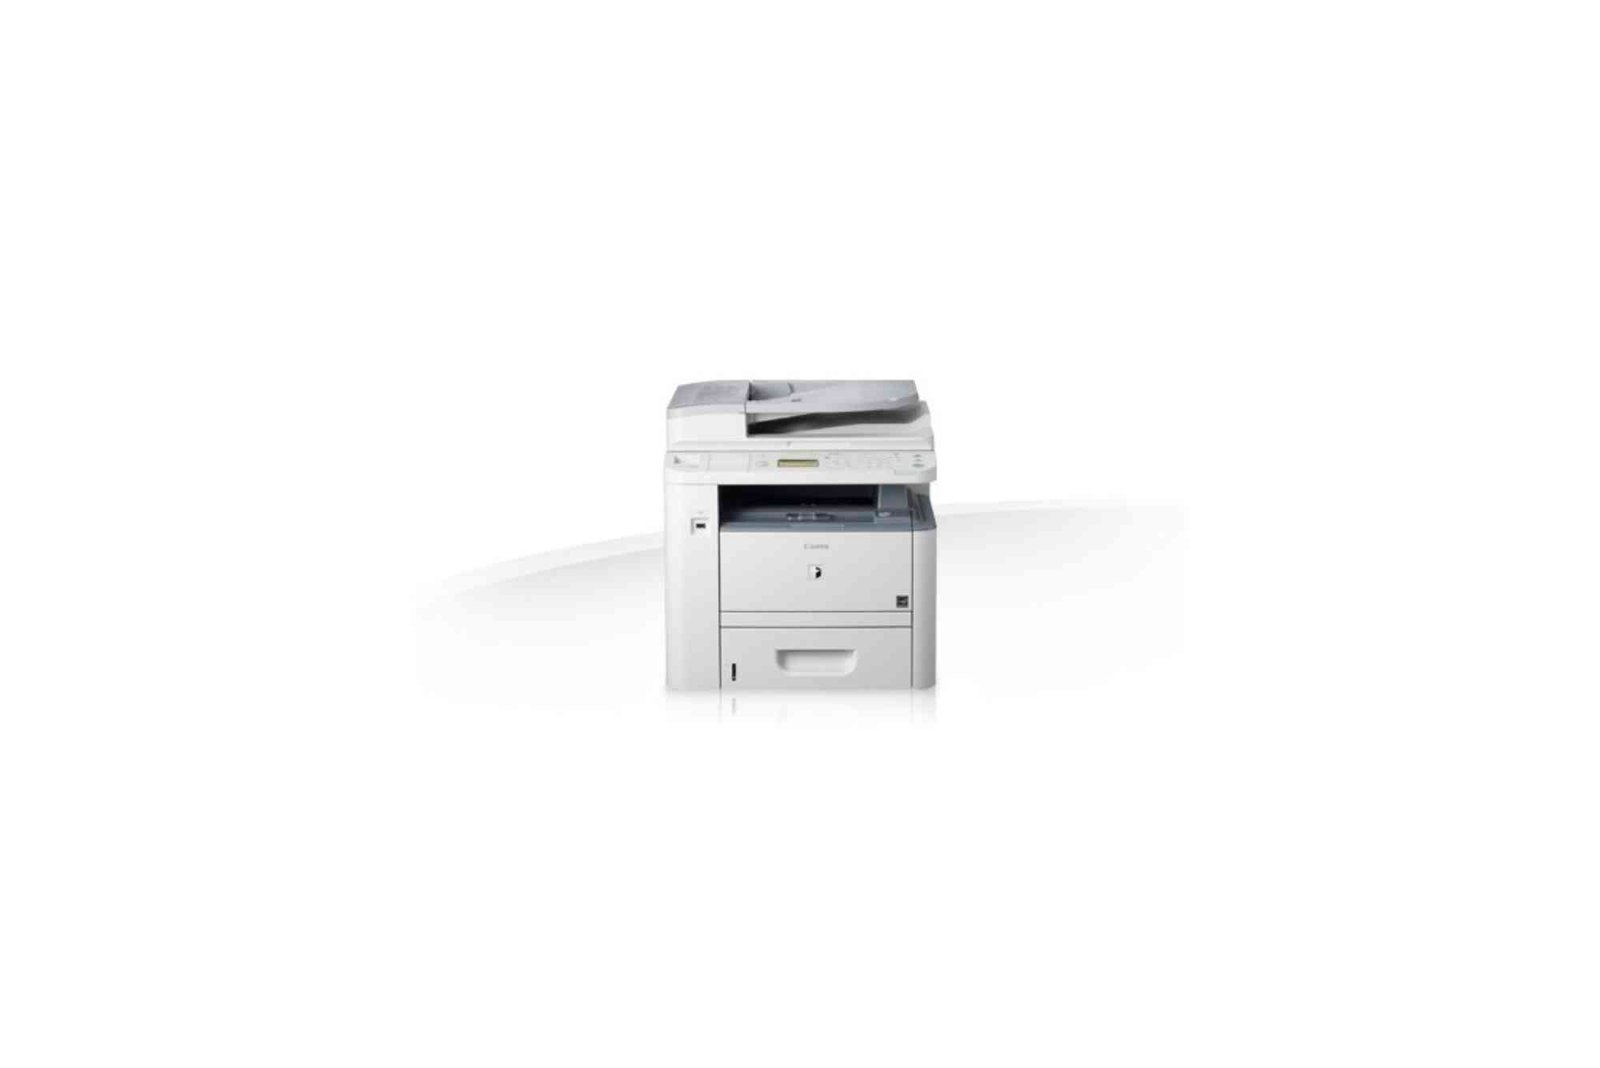
Canon ImageRunner 1133A Scanner Software
The Canon ImageRunner 1133A is an efficient all-in-one printer and scanner that plays a crucial role in businesses and offices. To optimize its functionality, it’s important to properly set up the Canon ImageRunner 1133A Scanner Software. This guide provides easy-to-follow instructions on how to install the software, troubleshoot common issues, and maximize the scanner’s capabilities. Whether you are a first-time user or need help troubleshooting, this guide will ensure smooth operation of the scanner.
Step-by-Step Instructions to Install Canon ImageRunner 1133A Scanner Software
Before starting, make sure you have the Canon ImageRunner 1133A scanner connected to your computer via USB or network. You will also need an internet connection to download the necessary drivers and software.
Download the Canon ImageRunner 1133A Scanner Software
- Go to the official Canon website: Canon Support Page.
- In the “Search by Product Name or Model Number” field, type ImageRunner 1133A.
- Navigate to the software & drivers section.
- Select the correct operating system for your PC (e.g., Windows or macOS).
- Download the Canon ImageRunner 1133A Driver and Scanner Software package.
- Wait for the download to complete.
Install the Canon ImageRunner 1133A Software
- Open the Downloaded file (usually found in your “Downloads” folder).
- Follow the on-screen instructions to begin the installation process.
- Agree to the Terms and Conditions and proceed.
- Select Installation Type (choose Standard installation for ease).
- The installer will now copy the necessary files to your system.
- When prompted, select whether you want to connect the scanner via USB or Network. If using a network, ensure your printer is connected to the same network as your computer.
Configure the Scanner Settings
- Once the software is installed, launch the Canon ImageRunner 1133A Scan Utility from your desktop or Start menu.
- Select the scanner type (either USB or network).
- Adjust the scan settings such as resolution, color mode, and file format (JPEG, PDF, TIFF, etc.).
- Choose a destination folder where your scanned documents will be saved.
Test the Scanner
- Place a document on the scanner bed.
- Click the Scan button in the Canon software.
- The scanner will start the scanning process, and you will see a preview of your scan on the screen.
- If everything is set up correctly, your scanned document will be saved in the designated folder.
Troubleshooting Common Issues with Canon ImageRunner 1133A Scanner Software
While setting up and using the Canon ImageRunner 1133A scanner software, you may encounter some common issues. Here’s how to resolve them:
Scanner Not Detected
- Check if the scanner is properly connected to the computer via USB or network.
- Restart both the scanner and the computer.
- Ensure that the correct driver and software are installed.
Scanner Error Message
- Make sure that the scanner is powered on and ready to scan.
- Check for paper jams or any obstructions in the scanner.
Scan Quality Issues
- Check the resolution settings in the Canon Scan Utility and adjust if necessary.
- Ensure that the scanner bed is clean and free of dust or smudges.
Software Crashes or Freezes
- Try restarting the Canon software.
- Uninstall and reinstall the software to fix potential corruption.
Features of Canon ImageRunner 1133A Scanner Software
- High-Resolution Scanning: The software allows you to scan at resolutions up to 600 dpi for clear and detailed images.
- Automatic Document Feeder (ADF): The ADF feature enables bulk scanning of multiple pages at once.
- Color Scanning: You can scan in both black and white and full-color modes.
- PDF Compression: The software provides the option to compress scanned PDFs, reducing file sizes for easier sharing.
- User-Friendly Interface: With its intuitive interface, the Canon Scan Utility makes it easy to adjust settings and initiate scans.
Optimized Canon ImageRunner 1133A Scanner Software Usage Tips
Setting up and using the Canon ImageRunner 1133A Scanner Software can significantly improve your document management efficiency. By following the above instructions and troubleshooting tips, you will be able to scan and save documents with ease. Whether you are scanning a single-page document or a multi-page batch, the software ensures smooth performance and high-quality results. If you encounter any issues, refer to the troubleshooting section to resolve them quickly. With its user-friendly interface and powerful scanning features, the Canon ImageRunner 1133A will help you streamline your office’s workflow.
FAQs from SERP Analysis
How do I fix the Canon ImageRunner 1133A scanner software not detecting my scanner?
Ensure that the scanner is turned on and properly connected. Restart both the scanner and the computer. Check the network settings if you’re using the scanner over Wi-Fi.
Can I scan multiple pages at once on the Canon ImageRunner 1133A?
Yes, the automatic document feeder (ADF) allows for batch scanning of multiple pages without having to manually load each one.
How do I change the resolution settings in the Canon ImageRunner 1133A scanner software?
Open the Canon Scan Utility, go to Scan Settings, and adjust the Resolution option to your desired value.
Why is my scanned document blurry or distorted?
Check if the scanner bed is clean and free of obstructions. Also, verify that the resolution setting is adequate for the document type.
Can I scan directly to PDF with the Canon ImageRunner 1133A?
Yes, the software supports saving scans directly to PDF format, including options to compress the PDF file size.


