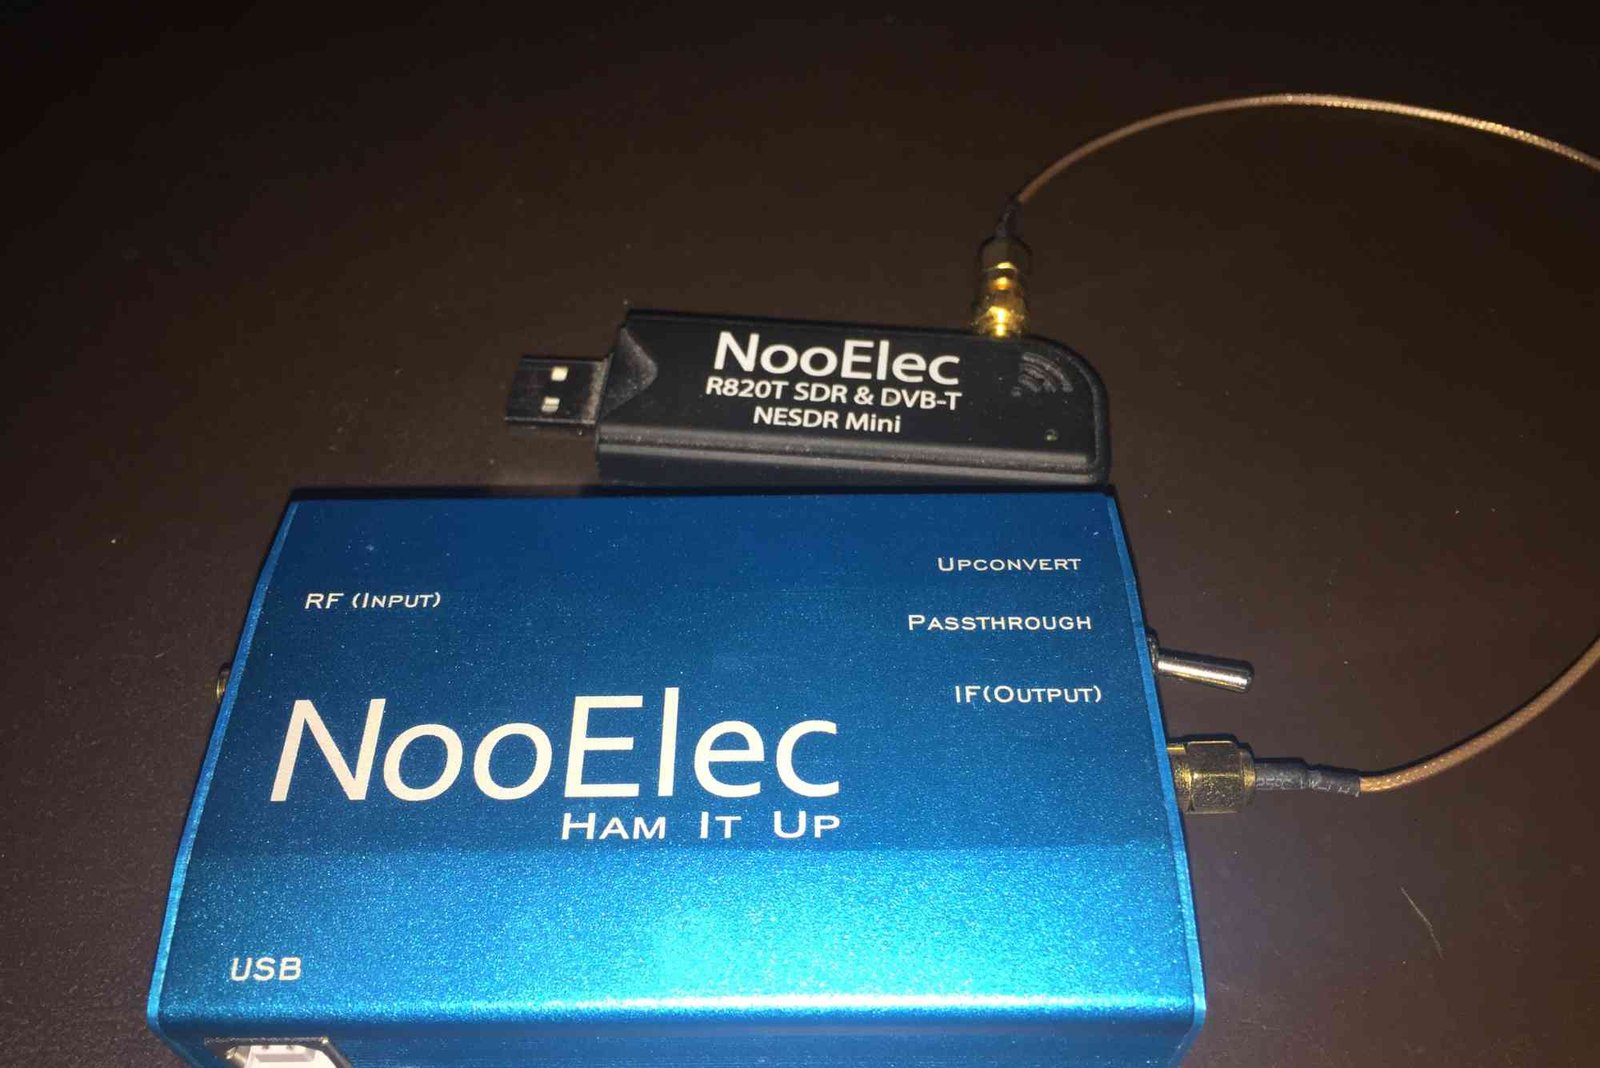
Introduction to Nooelec SDR Software
If you’re diving into the world of Software Defined Radio (SDR), Nooelec SDR software offers a versatile, high-performance option for anyone from hobbyists to professional developers. Known for its exceptional value and robust features, Nooelec provides easy-to-use software that works seamlessly with their SDR devices, including the NESDR Nano 3. Whether you’re experimenting with radio frequency (RF) signals or building a more complex setup, this guide will help you understand how to optimize Nooelec SDR software for your projects.
Step-by-Step Instructions for Using Nooelec SDR Software
Installing Nooelec SDR Software Begin by installing the necessary software for your operating system (Windows, Linux, or macOS). Nooelec is compatible with popular SDR platforms such as HDSDR, CubicSDR, and SDRSharp. To get started:
- Download the Nooelec SDR software from the official website.
- Run the installer and follow on-screen instructions.
- Once the software is installed, connect your Nooelec SDR device via USB.
Setting Up Your Device
- Connecting Your SDR: Plug your Nooelec SDR device into the USB port of your computer.
- Driver Installation: The software should automatically detect your device, but make sure to install any additional drivers if prompted.
- Selecting the SDR Device: In your SDR software, select the Nooelec device from the list of available input devices.
Configuring Frequency and Tuning Settings
- Open the SDR software and choose the frequency range you’d like to explore. The Nooelec NESDR Nano 3 offers a tuning range from 25MHz to 1750MHz, making it ideal for various RF applications.
- Adjust the settings like frequency resolution, gain control, and sample rate to optimize your reception.
Exploring the Features of Nooelec SDR
- Signal Decoding: Nooelec SDR software allows you to decode signals in various formats, including AM, FM, and SSB.
- Spectral Analysis: Utilize the built-in spectrum analyzer to view the signal strength across different frequencies.
- Antenna Selection: If needed, you can attach compatible antennas via the SMA or MCX connectors to further enhance your signal reception.Testing and Troubleshooting
- Once everything is set up, test your SDR to ensure you’re receiving signals. If the signal quality is poor, check your antenna connection, adjust the gain settings, or consider relocating the device to reduce interference.
Frequently Asked Questions (FAQs)
Q1: What is Nooelec SDR software compatible with?
Nooelec SDR software is compatible with a variety of platforms, including Windows, Linux, and macOS. It supports several popular SDR applications like HDSDR, SDRSharp, and CubicSDR.
Q2: What is the frequency range of Nooelec SDR devices?
The Nooelec NESDR Nano 3 covers a wide frequency range from 25MHz to 1750MHz, allowing users to explore many types of radio signals.
Q3: Can I use Nooelec SDR software on a Raspberry Pi?
Yes, Nooelec SDR devices are compatible with Raspberry Pi, which makes them a great choice for portable SDR applications.
Q4: How do I improve signal reception with Nooelec SDR?
You can improve reception by using high-quality antennas, adjusting the software’s gain settings, and placing your SDR in an optimal location to avoid interference.
Nooelec SDR software offers a powerful, accessible tool for exploring the world of Software Defined Radio. Whether you’re a beginner or an advanced user, this guide covers the essential steps to get you up and running quickly. With support for multiple platforms and applications, Nooelec makes SDR accessible to everyone—from hobbyists to professionals. Don’t hesitate to experiment with different settings and explore the full range of capabilities that Nooelec SDR has to offer.


